This is quick post on how to work with Azure Key vault using npm package for Azure Key vault. In this post we will see how we can authenticate to Azure Key vault using azure service principal. We will then write secrets to the keyvault and add few tags to the secret.
For the sake of this post, we will be writing our application in TypeScript and all the snippets below are in TypeScript.
Prerequisites
Azure team provides a npm package azure-keyvault to work with the key vault.
The first thing needed to authenticate for your application NodeJS application is to create a service principal in the portal. This is one of the recommended way because you can limit permission to the app to do only what you want - in this case to access azure key vault to write secrets to it.
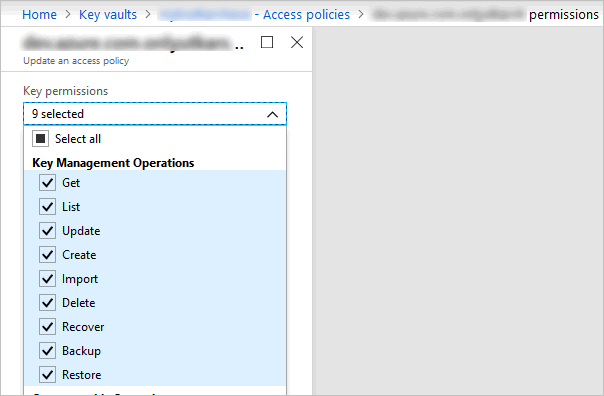
For example, for the app I created for this post, I have set access policies to perform only Key Management operations and for this key vault.

How to create the service principal is outside the scope of this post, but you can read more here.
If you have created the app successfully, you should have client id, client secret and the tenant id.
Using npm package
In your nodejs application, using the command prompt go to the root of the folder where your package.json file exists. We need to install two packages from Azure. First one is the ms-rest-azure and second one is azure-keyvault.
Install the packages using below command
npm install azure-keyvault ms-rest-azure --save
This should update your package.json file to include the package as dependency.
"dependencies": {
"azure-keyvault": "^3.0.4",
"ms-rest-azure": "^2.5.7"
},
Creating keyvault client
Once, you install the package, you need to import them in to your file. Then we use client id, secret and tenant id to create an KeyVaultClient object as below.
import * as msrestazure from "ms-rest-azure";
import * as keyvault from "azure-keyvault";
let credentials = await msrestazure.loginWithServicePrincipalSecret(clientId, clientSecret, tenantId);
let kvClient = new keyvault.KeyVaultClient(credentials);
Setting the secret
Next step is to write a secret to the keyvault. That is again just few lines of code. For this we need also our keyvault URL.
let keyVaultUrl = "https://mykvname0010918.vault.azure.net";
let secretName = "azuresqldbpassword";
let secretValue = "8M*3H@*rN>$TYS?";
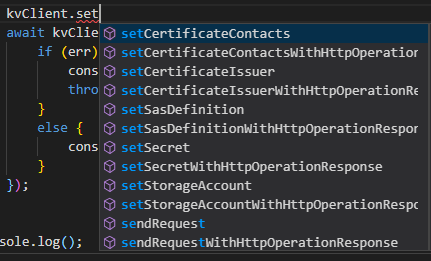
await kvClient.setSecret(keyVaultUrl, secretName, secretValue, { tags: { "build": "20180918.1" }, contentType: "Added via my nodejs application" }, (err, secretBundle) => {
if (err) {
console.info(`Error while writing '${secretName}'`);
throw err;
}
else {
console.info(`Successfully set the secret for '${secretName}'`);
}
});
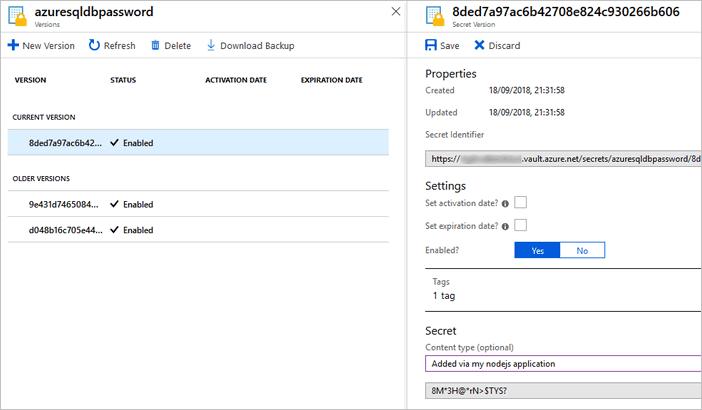
Notice we are also passing tags and optional contentType to the secret which adds useful metadata to the secret being added.
That’s it, you should see your secret added in the Azure key vault. Notice, it has our added tag and also our content type.

Conclusion
This post just showed adding a secret to key vault. However the NPM package is very powerfull and allows you to do all other operations like creating certificates, deleting, backing up secrets etc.

That is it for this post - I hope you found this post useful.


