In this blogpost we’ll learn how to deploy a new Virtual Machine to an exisitng Azure DevTest Lab from VSTS using an ARM template.
Pre-requisites
-
Azure DevTest Lab: If you don’t already have an Azure DevTest Lab, follow the instructions here to create one - Create AzureDevTestLab. In this blogpost I’ll be using a lab called GeeksDevTestLab hosted in North Europe.
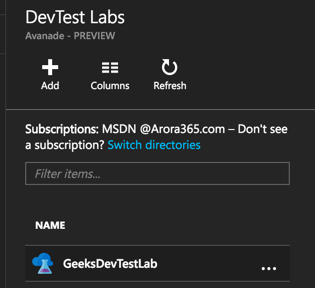
-
VSTS Account: You need a Visual Studio Team Services account. If you don’t already have a VSTS account, follow the instructions here to create one - VSTS Create Account.
-
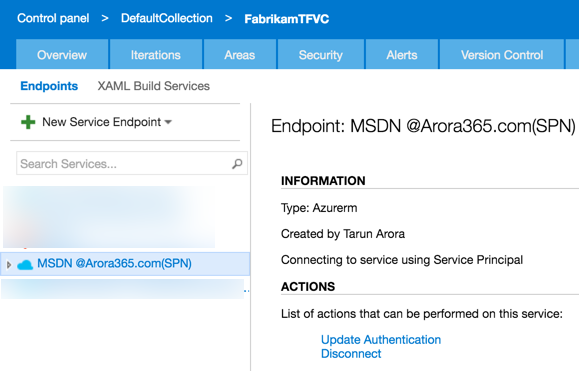
Azure Endpoint: In order to deploy to Azure Resource Group using a service principle in Visual Studio Team Services, you need to set up your Azure Resource Group endpoint in VSTS. Follow the instructions here to set up the Azure Resource Group service principle for VSTS
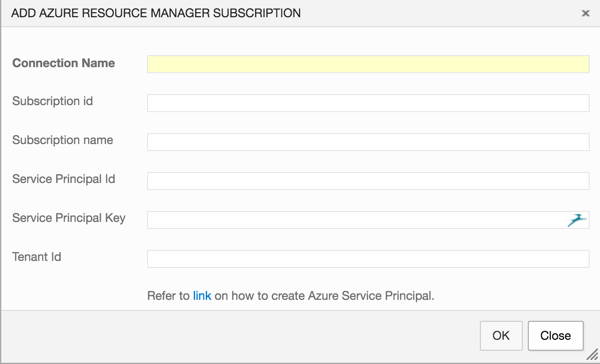
Azure Resource Manager Endpoint
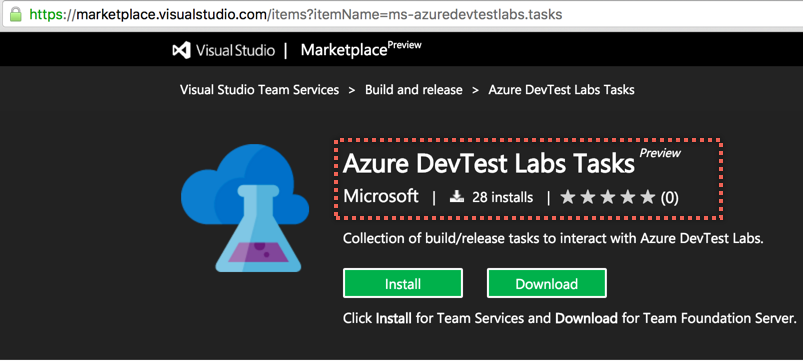
Install Azure DevTest Lab VSTS Extensions
Install the AzureDevTestLab extensions from Visual Studio Marketplace. These extensions provide the capability to
- Create a Custom Image from an existing Dev Test Lab VM
- Create new Virtual Machine using an ARM template in an existing Dev Test Lab
- Delete an existing Virtual Machine in a Dev Test Lab
How to create a new Virtual Machine in an existing Azure DevTestLab using an ARM Template?
In this section we’ll learn how to deploy a simple virtual machine using an ARM (Azure Resource Manager) template in an existing Azure Dev Test Lab.
-
Navigate to the Azure DevTest Lab and click on create VM. Select the specifications & configuration you intend to create the VM for, click on
View ARM templateto view the template. Copy the ARM template.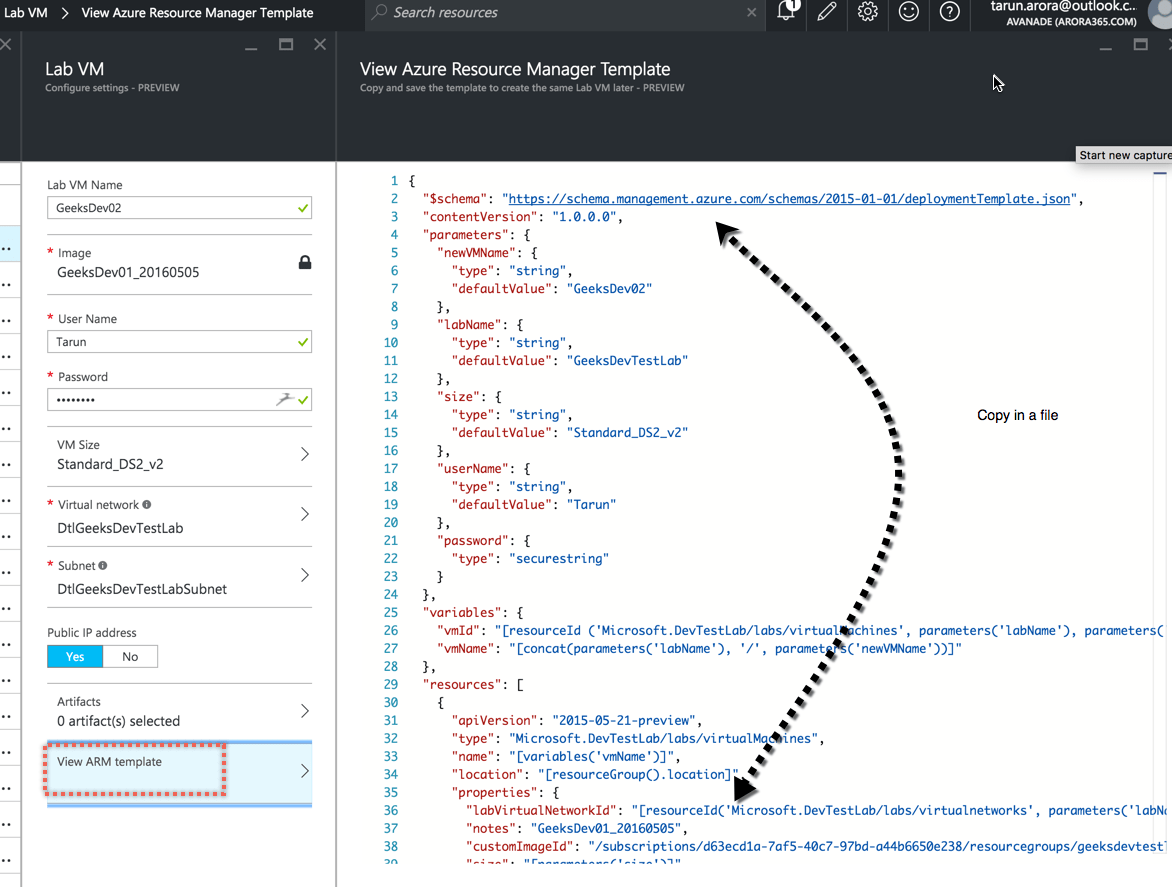
-
Commit this template into a repository in your team project in VSTS. I’ve published this into a new repository namely
infrastructurein theFarbikamTeam Project.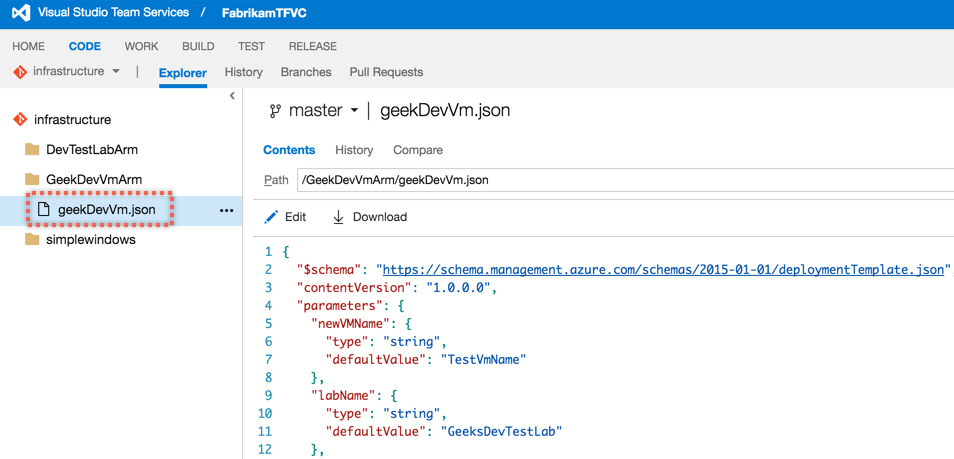
-
Navigate to the Build Hub. Create a new empty build definition, set up the build definition to be triggered for Continuous Integration. Set up the Build Definition to be executed using Hosted Agent queue. Save the build definition and call it
Geeks.DevTestAutomation
-
Click on Add build step, click on the deployment tab and select
Azure DevTest Lab Create VM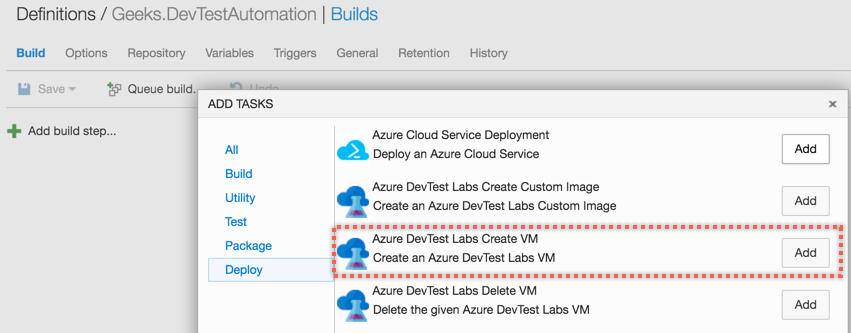
-
Configure the
Azure DevTest Lab Create VMby selecting the Azure Resource Manager Endpoint configured earlier, select the name of the dev test lab you want to deploy to, select the ARM template you want to deploy.
I’ve highlighed the template parameters in the screen shot below. This field allows us to overwrite the parameters requied by the ARM template. These parameters can be overwritten by changing the values in the parameters field. It is recommended that you define build variables in the variable tabs rather than hard coding the values. You can optionally chose the out of box variables such as build.buildnumber too.
-
As demonstrated in the screen shot below I’ve created a build variable for User.UserName, User.Password and uses out of box variable Build.BuildNumber for VM Name.
-
The variable in Output variable has been created to hold the value of the lab VM id for the VM that gets generated through this process.

-
-
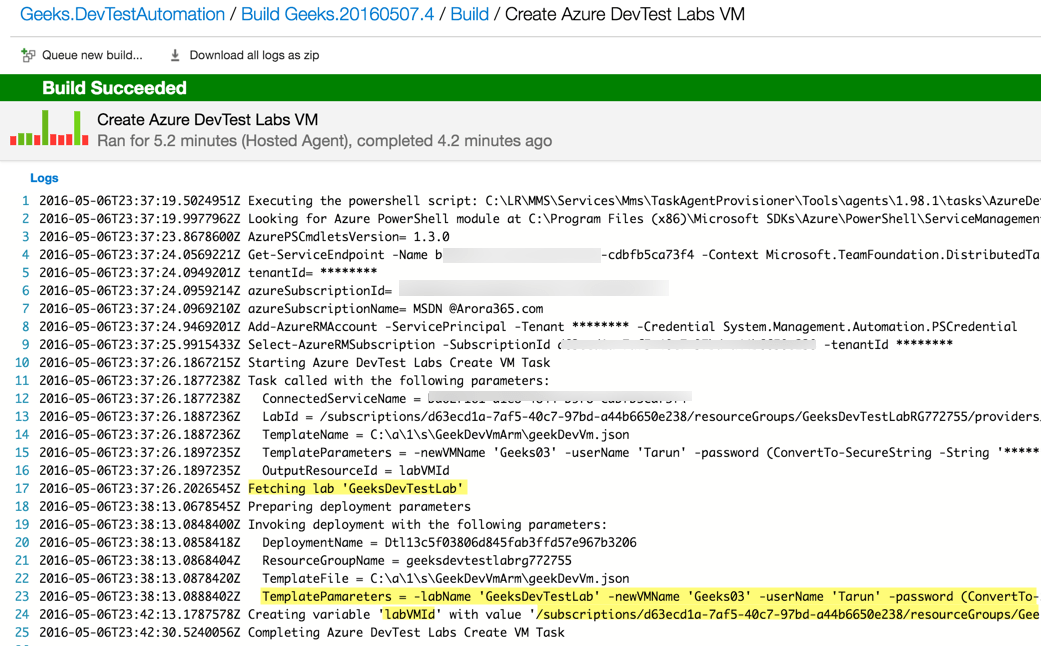
Queue a build. Once the build completes, you’ll see that the build job has logged all the actions as part of the task execution.
-
The VM has been successfully deployed in the Azure Dev Test Lab.

Summary
In this blog post we walked through the process of creating a new VM in an existing Azure Dev Test lab using an ARM template. The other tasks support deleting an existing Virtual machine and creating a custom image from an existing VM in a lab. You could use these tasks to drive a full blown dev-test workflow such as creating a machine from scractch, layering the artifacts on top of this VM, followed by running a DSC script to enable features you need activated on this machine, followed by deploying your software, deploying a test agent, running selenium tests, taking a custom image and then deleting the VM. In the next blogpost, we’ll cover exactly that.
Hope you enjoyed this post… Are you storing you infrastructure as code too?
Tarun


